Step 1
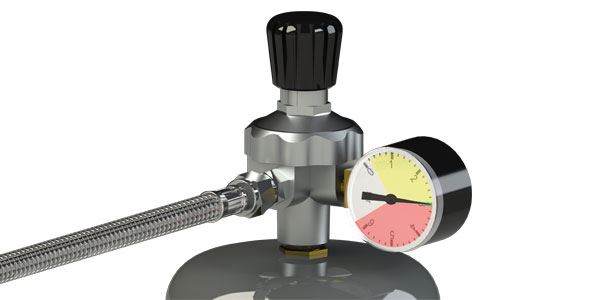
First you will need to turn the Co2 cylinder regulator off. Do this by twisting the knob anti-clockwise until it screws up and away from the bottle.
Step 2
Before removing the regulator from the bottle, start the Co2 purge to
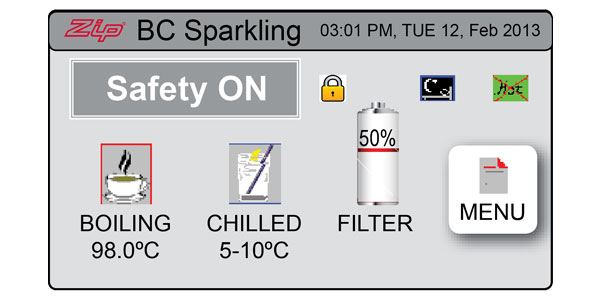
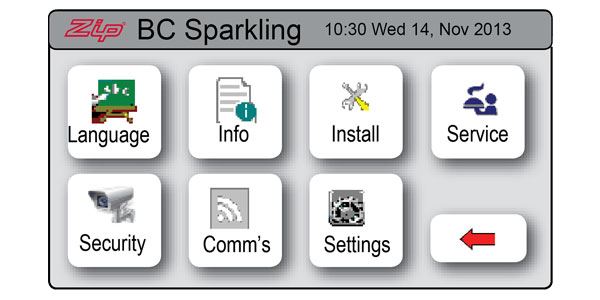
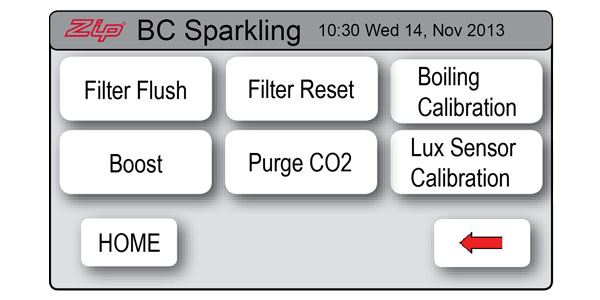
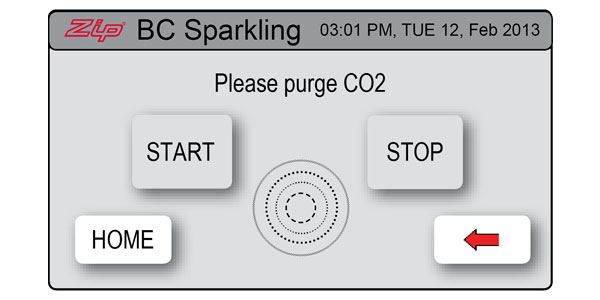
relieve any pressure in the Co2 line. On the screen menu select [Install] then [Co2 Purge], then [Start].

Step 3
Gas flow will start, then slow and stop. When gas flow has stopped, press [Stop]. You may leave the display in this mode.
Step 4
Remove the bottle from the cupboard and disconnect the regulator by unscrewing it from the bottle. The braided hose can be left attached to the regulator. If removal of the hose to regulator is required take care not to lose the plastic olive inside the braided hose.
Step 5
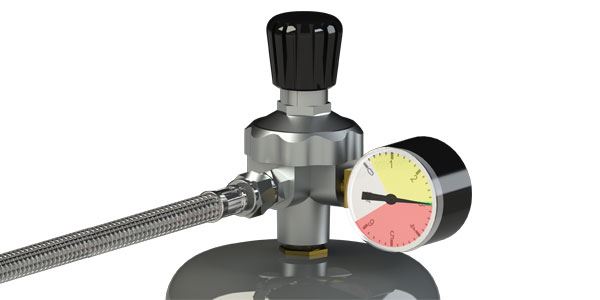
The regulator and hose assembly needs to be fitted to the new gas bottle. Do this by screwing the new regulator in place. Be aware some Co2 may be discharged from the cylinder as the regulator is attached and always make sure the bottle is upright.
Step 6
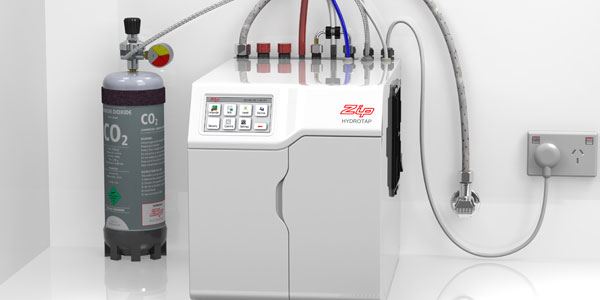
Slot the bottle back into place in an upright position securing it with the Velcro strap.
Step 7
Turn the Co2 cylinder regulator on by twisting the knob slowly clockwise. Watch the needle on the gauge carefully and keep twisting the knob until the gauge indicates 3.0-bar, in the Green zone on the dial

Step 8
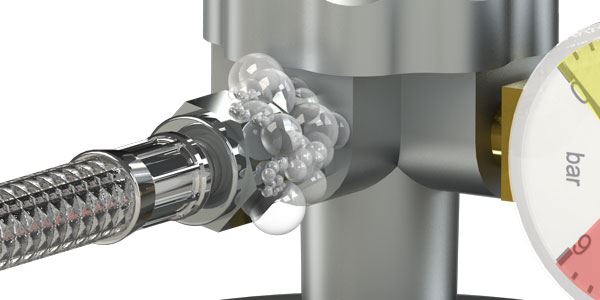
It’s important at this stage to check for gas leaks so take a soapy sponge and allow some soap suds to fall on the regulator fitting and hose. Watch carefully for any movement orincreasing bubbles in suds that would indicate a leak. If you spot a leak, twist the knob back in an anti-clockwise direction (turning regulator off) and rectify leak. Wipe off suds and repeatthe checking process. If all ok proceed to next step. If further assistance is required please call ZIP Customer Care on 1800 460 222 .
Step 9
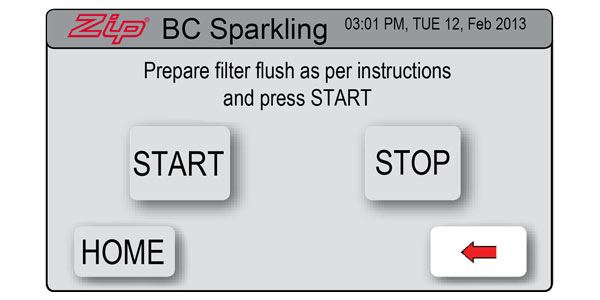
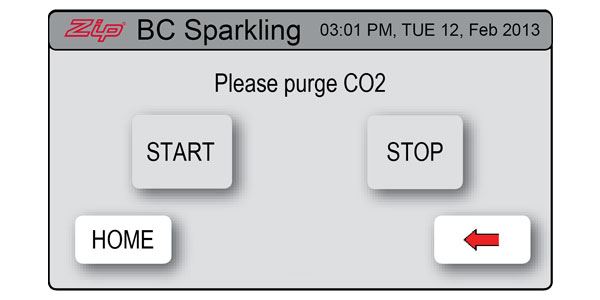
Next you need to purge the gas lines to ensure the new CO2 cylinder will work efficiently. If your screen is not showing the Co2 purge screen, press the [MENU] button to bring up the main menu. Press the [Install] button then press [Purge CO2].
Step 10
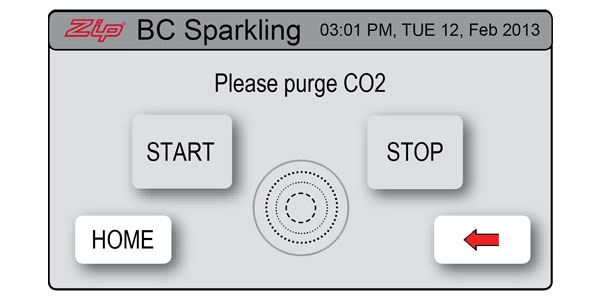
When the next screen comes up, press the [START] button. Water will begin to flow through the HydroTap. If a font is fitted, a bucket or bowl to catch water flow from tap may assist.
Step 11
When the water appears to have stopped flowing and only Co2 gas is escaping through the tap, wait another 10 seconds then press the [STOP] button to end the purge. Dispose of the purge water in the sink.
Step 12
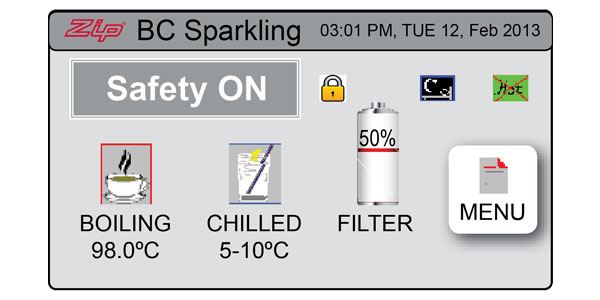
Press the [] button to go back to the previous menu or press [HOME] to return to the home screen.
Step 13
It’s a good idea to dispense some sparkling water from the tap and perform a taste test. There may be a small burst of gas pressure when you perform this task but if you let the levers go then press again, the unit should work normally.
Step 14
Residential G4 HydroTap cylinders are non-refillable but can be recycled at most council recycling facility. Please do not place in council bin but dispose of thoughtfully. If a Zip technician changes your cylinders, they will remove the old cylinder and recycle it for you.
Courtesy of Zip Water


